Android Emulator Tutorial
The Android SDK includes a virtual mobile device emulator that runs on your computer. The emulator lets you prototype, develop and test Android applications without using a physical device.
In this chapter we are going to explore different functionalities in the emulator that are present in the real android device.
Creating AVD
If you want to emulate a real device, first crate an AVD with the same device configurations as real device, then launch this AVD from AVD manager.
Creating Snapshots in Eclipse
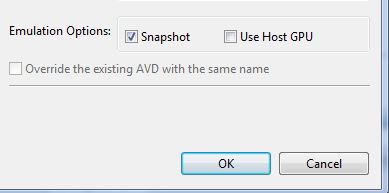
Creating snapshots mean saving an emulator state to a file that enables the emulator to be started quickly the next time you try to launch it. The one of the biggest advantage of creating snapshots is that it saves the boot up time.
In order to create snapshot, check mark the option of snapshot while creating your AVD. It is shown below −
The first time you launch the emulator , it will take the usual time of loading. But when you close it and start it again, you will see a considerable amount of time reduction in appearing of emulator.
Changing Orientation
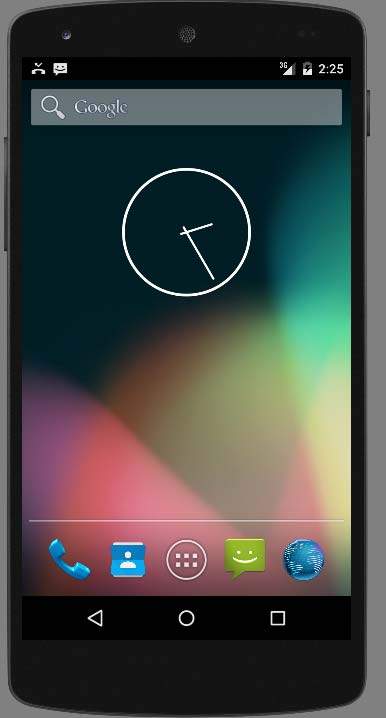
Usually by default when you launch the emulator, its orientation is vertical, but you can change it orientation by pressing Ctrl+F11 key from keyboard.
First launch the emulator. It is shown in the picture below −
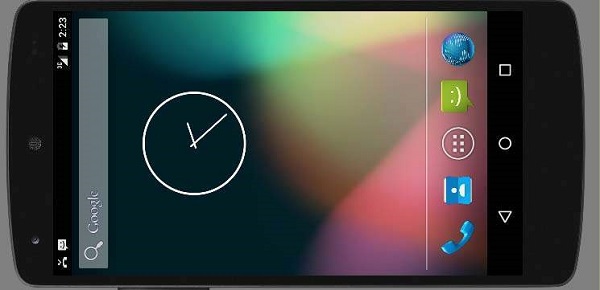
Once it is launched, press Ctrl+F11 key to change its orientation. It is shown below:
Emulator Commands.
Apart from just orientation commands, there are other very useful commands of emulator that you should keep in mind while using emulator. They are listed below −
| Sr.No | Command & description |
|---|---|
| 1 | Home Shifts to main screen |
| 2 | F2 Toggles context sensitive menu |
| 3 | F3 Bring out call log |
| 4 | F4 End call |
| 5 | F5 Search |
| 6 | F6 Toggle trackball mode |
| 7 | F7 Power button |
| 8 | F8 Toggle data network |
| 9 | Ctrl+F5 Ring Volume up |
| 10 | Ctrl+F6 Ring Volume down |
Emulator - Sending SMS
You can emulate sending SMS to your emulator. There are two ways to do that. You can do that from DDMS which can be found in Android studio, or from Telnet.(Network utility found in windows).
Sending SMS through Telnet.
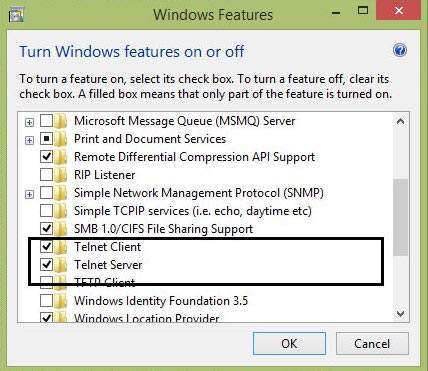
Telnet is not enabled by default in windows. You have to enable it to use it. Once enabled you can go to command prompt and start telnet by typing telnet.
In order to send SMS , note down the AVD number which can be found on the title bar of the emulator. It could be like this 5554 e.t.c. Once noted , type this command in command prompt.
telnet localhost 5554
Press enter when you type the command. It is shown below in the figure.
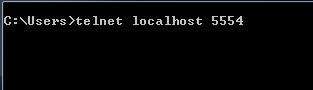
You will see that you are now connected to your emulator. Now type this command to send message.
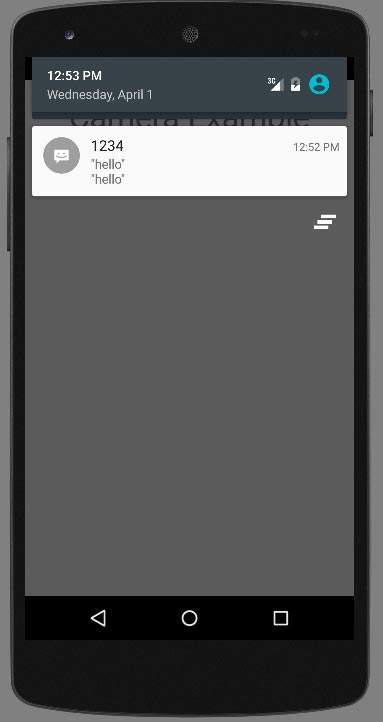
sms send 1234 "hello"
Once you type this command , hit enter. Now look at the AVD. You will receive a notification displaying that you got a new text message. It is shown below −
Emulator - Making Call
You can easily make phone calls to your emulator using telent client. You need to connect to your emulator from telnet. It is discussed in the sending sms topic above.
After that you will type this command in the telent window to make a call. Its syntax is given below −
gsm call 1234
Once you type this command , hit enter. Now look at the AVD. You will receive a call from the number your put in the command. It is shown below −

Emulator - Transferring files
You can easily transfer files into the emulator and vice versa. In order to do that, you need to select the DDMS utility in Android studio. After that select the file explorer tab. It is shown below −
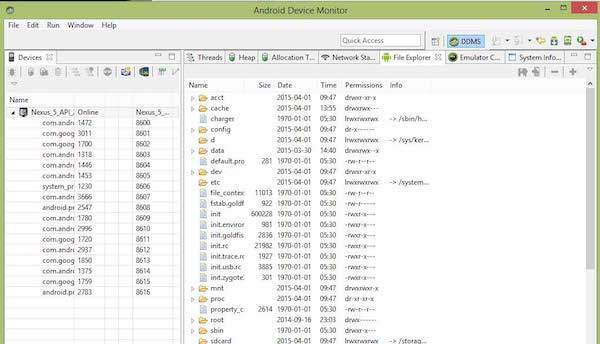
Browse through the explorer and make new folder , view existing contents e.t.c.